
 I started out with a piece of white fabric and began randomly gluing some technical illustrations of cicadas down with Golden gel medium. I then covered the surface of the fabric with metallic textile paints and glazed the line drawings with Golden fluids. When there was no more white fabric showing through I began to paint tree branches and leaves by painting the gold background. For a long time I was very unhappy with the look of the piece it seemed like nothing I did would improve it. I did really like
 portions of the painting but not the whole. This is when the light bulb went off and I decided to cut it up and make it into a three dimensional structure. Something that has been on my mind for some time to do anyway.
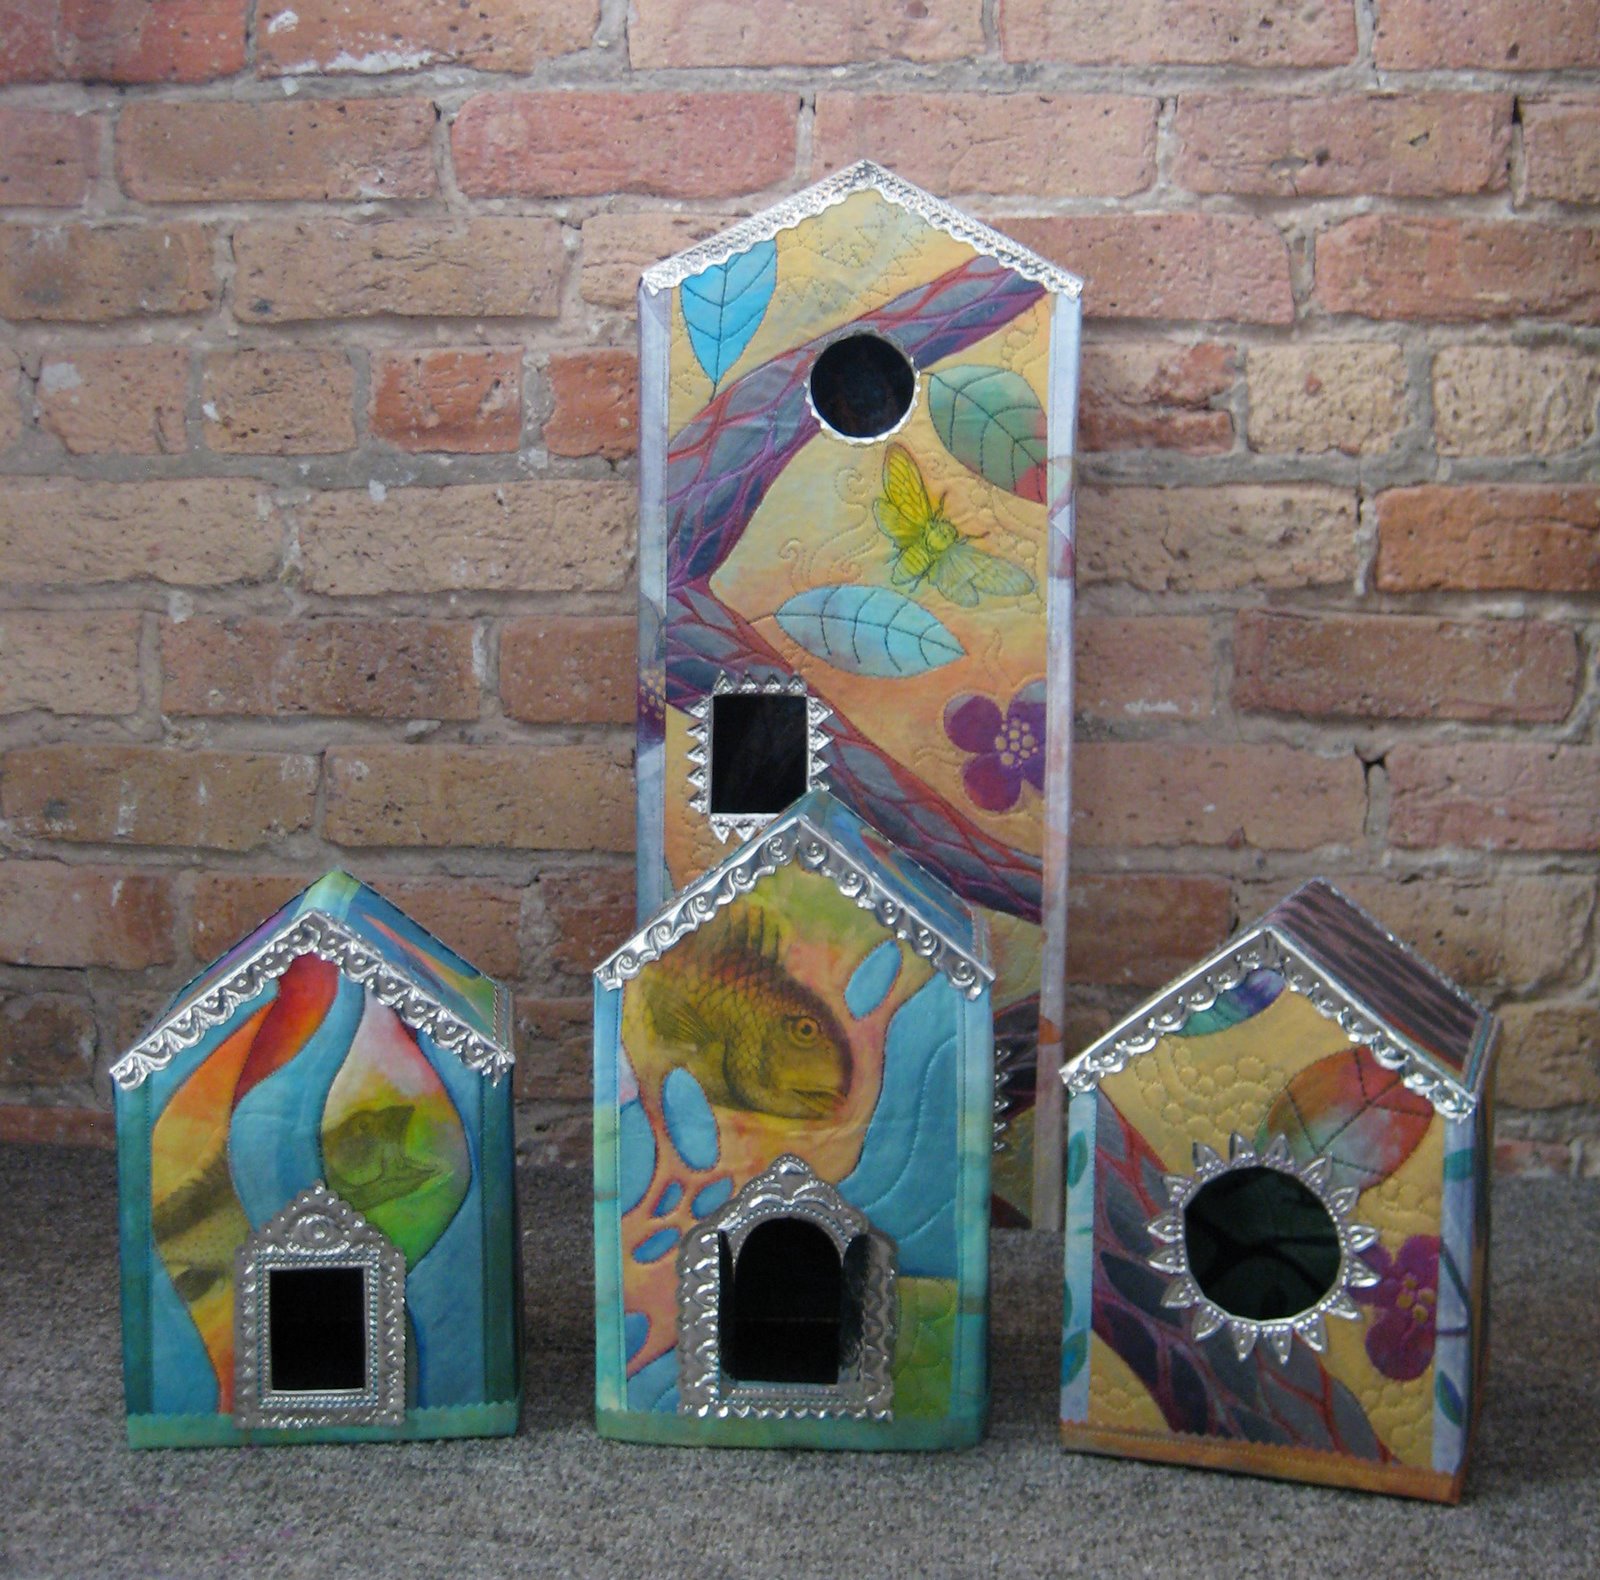
I drew a house template on paper and cut out the pieces from the painting. I fused these onto peltex choosing a dark blue hand dyed fabric for the back. I decided to put the photos of the cicadas on the inside of the house with windows to peek through on the front. This would put the photos of the cicadas in a dark environment like they come out of. They crawl out of the ground, split out of their shells often at night an
 d fly up into the trees.
Then I began stitching details. Not too much quilting, just enough to add interest and sparkle. I think there has been an emphasis on excessive quilting the last few years. I think there needs to be balance. Besides if there is too much quilting it covers up all the painting.
I still have some stitching to do on two of the panels and then I will have to decide how I am going to put the thing together. I have a couple ideas. When I was designing this I didn't think about the technical challenges a 20" tall house might create. It might be hard to stick my arm up inside to sew the roof on. Maybe I will hinge it.
My inspiration for the theme of this house came from an experience I had this summer.
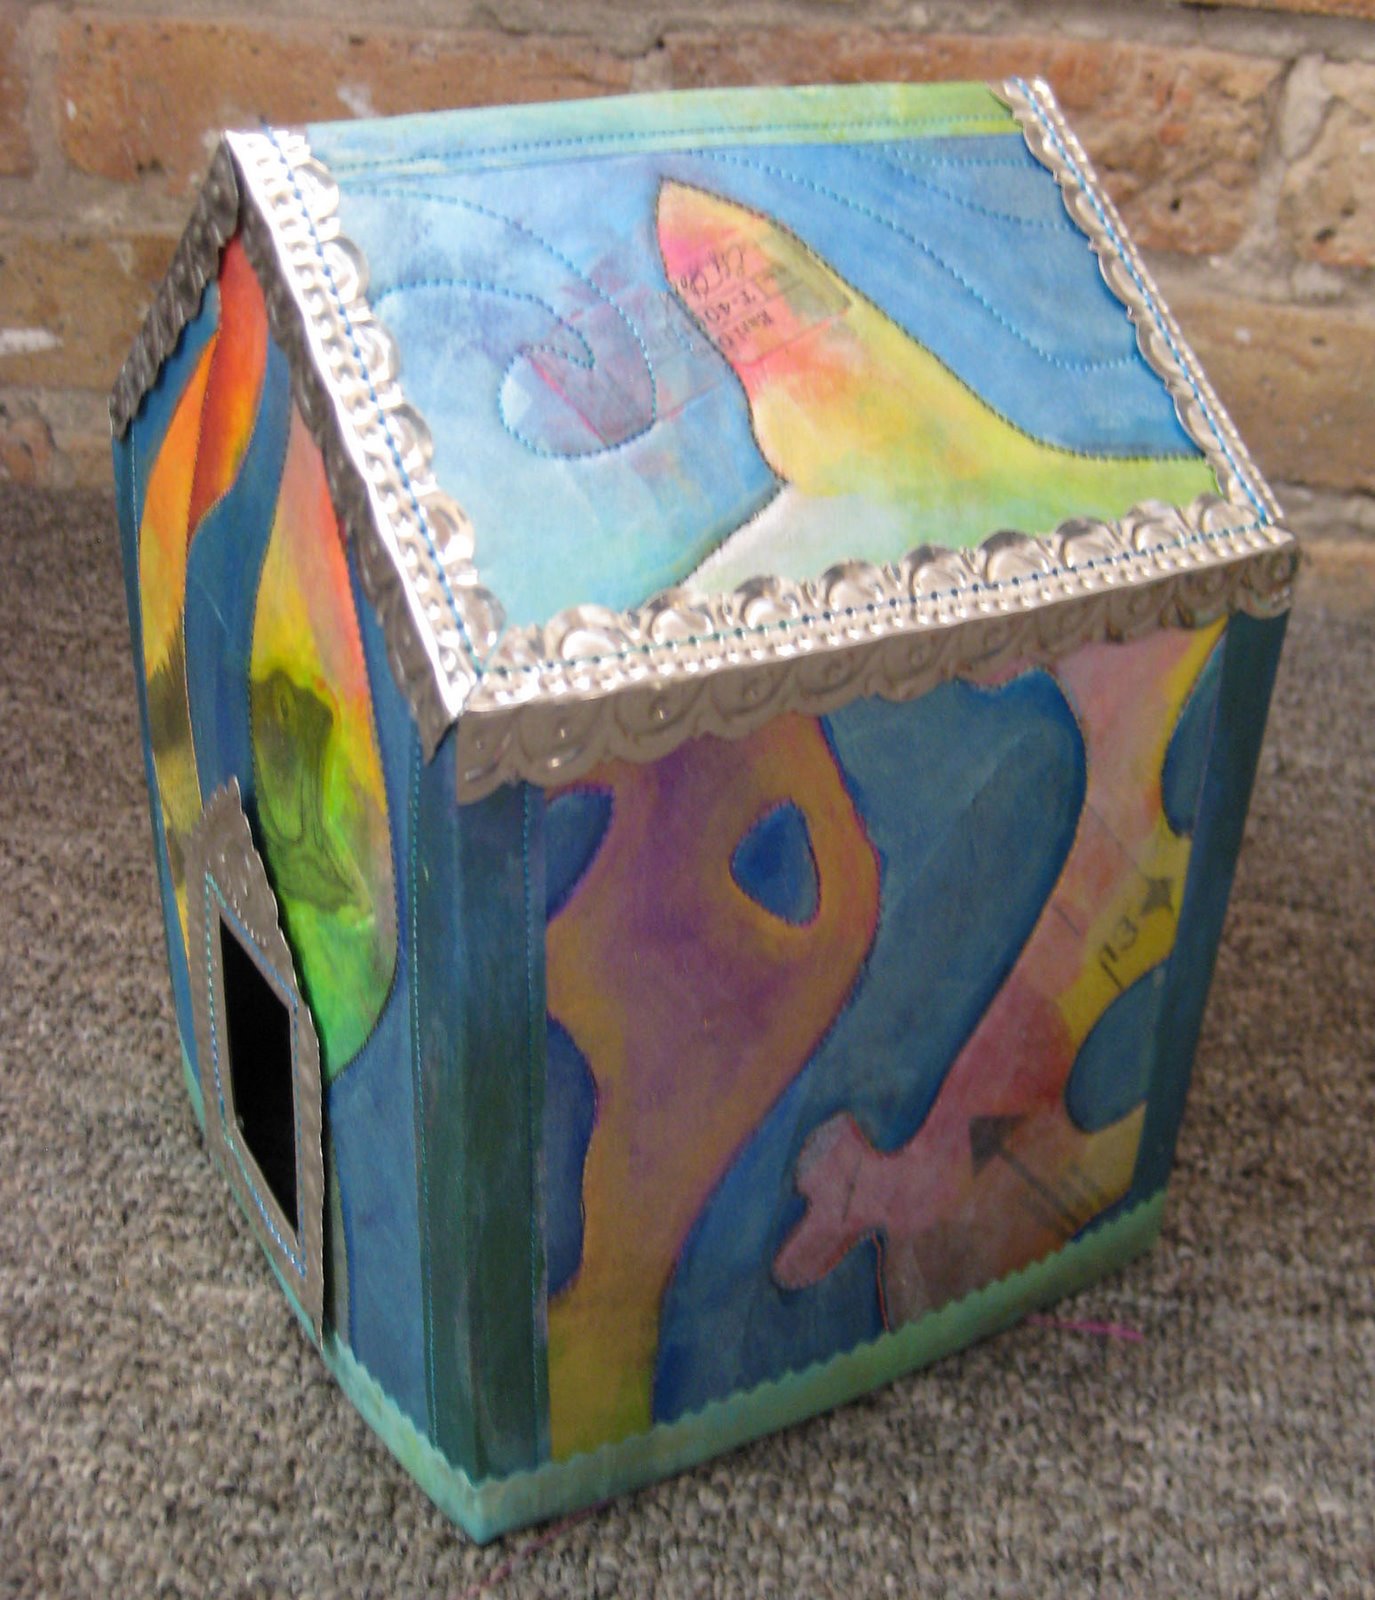
 The house is finished. It is 22 1/2" tall, 9" wide and 4" deep.
 To construct it I made one inch wide strips with fusible web on the back. I used left over strips from my last painted project for the outside strips and I used the dark blue cotton matching the back side for inside. I fused a strip on the back first and then fused a strip on the outside while bending the edge to create a bent corner. Then I stitched along the edges. I added strips of metal to the roof, that had to be sewn on pretty early in the construction. Once the whole body of the house was put together, I bent the metal along the roof edges and used E600 to glue the top of the house to the metal edging.


 The last thing I want to do is make a metal edge for the bottom of the house to finish it off.








Thank you Judy for the instructions, I can't wait to start my own house. You are so creative and talented. I just love your work. I'm always telling my husband that when I grow up I want to be like you!! :)
Thanks again for the post.
Besides JoAnn's, any other places to buy the "metal"? I only found pewter at JoAnn's. I love the silvery color but a friend wants one with brass color.
Martha, I use the medium weight Pewter. The brass is going to be a harder metal and may not sew as easily. I used the copper on a project and I definitely noticed a difference. It was harder and the machine skipped stitches a few times. You should try a small sample before going too far with the brass.
Another option would be to punch holes in the metal with a thumbtack or needle and then hand sew the metal to the peltex.
Years ago I sewed coke cans that I cut up and heated over a candle flame to anodize the metal then embossed. I punched holes with a thumbtack along the edges (over a piece of corrugated cardboard) and sewed the pieces to quilted fabric blocks in a 9 patch with wire and beads.
Judy do you think the hole punches would work? The kind that you hold in your hand, that can punch different shape holes, or a small round one vs. the 'binder paper size hole' we all grew up with???
I am so glad the extra photos help. It is so hard explaining how to do things in words so it makes sense. I like seeing lots of pictures with instructions myself.
Vicky, all I can say about the hole punch is try it and let us all know how it works ; )